How to Make Personalized Photo Ornaments at Home
Personalized photo ornaments are a cherished holiday tradition, bringing joy and a touch of nostalgia to your Christmas tree. Whether you want to commemorate a special event, remember a loved one, or capture your favorite family memories, creating these ornaments at home is both rewarding and simple. Let’s explore how you can craft beautiful, one-of-a-kind photo ornaments that will make your holiday decorations extra special.
Why Personalized Photo Ornaments Are Perfect for the Holidays
Photo ornaments have become popular for a reason: they carry sentimental value that store-bought decorations just can’t match. Each ornament tells a story, whether it’s a snapshot of a baby’s first Christmas, a memorable vacation, or a treasured family portrait. Crafting these ornaments yourself also adds a personal touch, turning your holiday decor into a celebration of love and shared experiences.
Essential Supplies for DIY Photo Ornaments
Before you begin, make sure you have all the necessary supplies. Here’s a checklist:
- Photos: High-quality printed photos (preferably on photo paper)
- Clear Ornaments: Plastic or glass depending on your preference
- Wood Slices: For a rustic, natural look
- Mod Podge or Decoupage Glue: To adhere photos to surfaces
- Paintbrushes: For applying glue and decorations
- Acrylic Paint: To customize the background of your ornaments
- Glitter and Ribbon: For extra festive flair
- Scissors: To cut photos into the perfect shape
- Crafting Tools: Such as a hole punch, sandpaper, and a hot glue gun
Tip: Choose durable materials if you plan to keep your ornaments for many years.
Choosing the Right Photos for Your Ornaments
The key to a stunning photo ornament lies in the image you select. Consider these tips when picking photos:
- Focus on Faces: Close-up shots of loved ones make a stronger visual impact.
- High-Resolution Images: Clear, sharp photos work best, especially for smaller ornaments.
- Holiday Themes: Pictures taken during past Christmases or snowy scenes add a festive vibe.
- Black and White vs. Color: Experiment with black-and-white photos for a classic, timeless look.
Step-by-Step Guide to Making Different Types of Photo Ornaments
1. Simple Photo Ball Ornaments
These ornaments are easy to make and look beautiful on any tree.
Materials Needed: Clear plastic or glass ball ornaments, photo paper, and embellishments.
Instructions:
- Print your photos to fit the size of your clear ball ornament.
- Cut the photo into a circle that fits snugly inside the ornament.
- Gently roll the photo and insert it into the ball. Use a pencil or stick to flatten it inside.
- Add fake snow, glitter, or small decorative elements for a wintry effect.
- Seal the top and tie a ribbon for hanging.
Pro Tip: You can also write the date or a holiday message on the outside of the ornament using a paint pen.
2. Wood Slice Photo Ornaments
For a rustic, farmhouse look, try making wood slice photo ornaments.
Materials Needed: Wood slices, printed photos, Mod Podge, and a paintbrush.
Instructions:
- Print your photos slightly smaller than the size of your wood slices.
- Apply a thin layer of Mod Podge to the wood and press your photo onto it.
- Smooth out any bubbles and let it dry completely.
- Apply another layer of Mod Podge over the photo to seal it and create a glossy finish.
- Drill a small hole at the top and attach a ribbon for hanging.
Customization Idea: Use a wood burner to etch names, dates, or designs around the edges of the wood slice.
3. Mod Podge Glass Ornaments
Create elegant, photo-covered glass ornaments with Mod Podge.
Materials Needed: Glass ornaments, Mod Podge, a foam brush, and printed photos.
Instructions:
- Print and cut your photo to match the shape of your ornament.
- Apply a thin layer of Mod Podge to the back of the photo.
- Carefully press the photo onto the ornament, smoothing out wrinkles.
- Coat the top of the photo with another layer of Mod Podge and let it dry.
- Decorate with glitter or paint if desired.
Pro Tip: Use a sponge to dab glitter along the edges for a frosted effect.
4. Photo Transfer to Ceramic Ornaments
Achieve a polished, professional look by transferring your photos onto ceramic ornaments.
Materials Needed: Ceramic ornaments, photo transfer medium, and soft cloth.
Instructions:
- Print your photo on regular paper using a laser printer.
- Apply the photo transfer medium to the printed side of the photo and press it onto the ceramic ornament.
- Let it dry overnight, then use a damp cloth to rub away the paper, leaving the image behind.
- Seal with a clear spray or a layer of Mod Podge.
Creative Tip: Use gold paint to outline the photo for an elegant finish.
Customizing Your Photo Ornaments with Extras
Personalization doesn’t stop at the photo! Here are ways to make your ornaments even more special:
- Add Names and Dates: Use paint pens to write family names, holiday dates, or meaningful quotes.
- Use Ribbons and Bows: Choose festive colors to tie around the ornament tops.
- Include Small Keepsakes: For clear ball ornaments, add small mementos like dried flowers, confetti, or tiny charms.
Tips for Preserving Your Photo Ornaments
To keep your ornaments looking beautiful for years:
- Store in a Dry Place: Use padded boxes or tissue paper to prevent scratches.
- Avoid Direct Sunlight: Keep ornaments out of direct light to prevent fading.
- Use a Protective Sealant: Apply a clear, non-yellowing sealant to preserve photos.
Creative Ways to Display Photo Ornaments
- On the Christmas Tree: Place photo ornaments at eye level for maximum visibility.
- Mantel Garland: String them along a garland draped over the mantel.
- Photo Ornament Wreath: Create a wreath using only photo ornaments for a unique display.
- Gift Tags: Use them as personalized tags on wrapped presents.
Common Mistakes to Avoid When Making Photo Ornaments
- Using Low-Quality Photos: Always print high-resolution images for the best result.
- Applying Too Much Glue: Excess glue can cause photos to wrinkle or distort.
- Skipping the Sealant: Sealing your ornaments ensures they stay intact and vibrant.
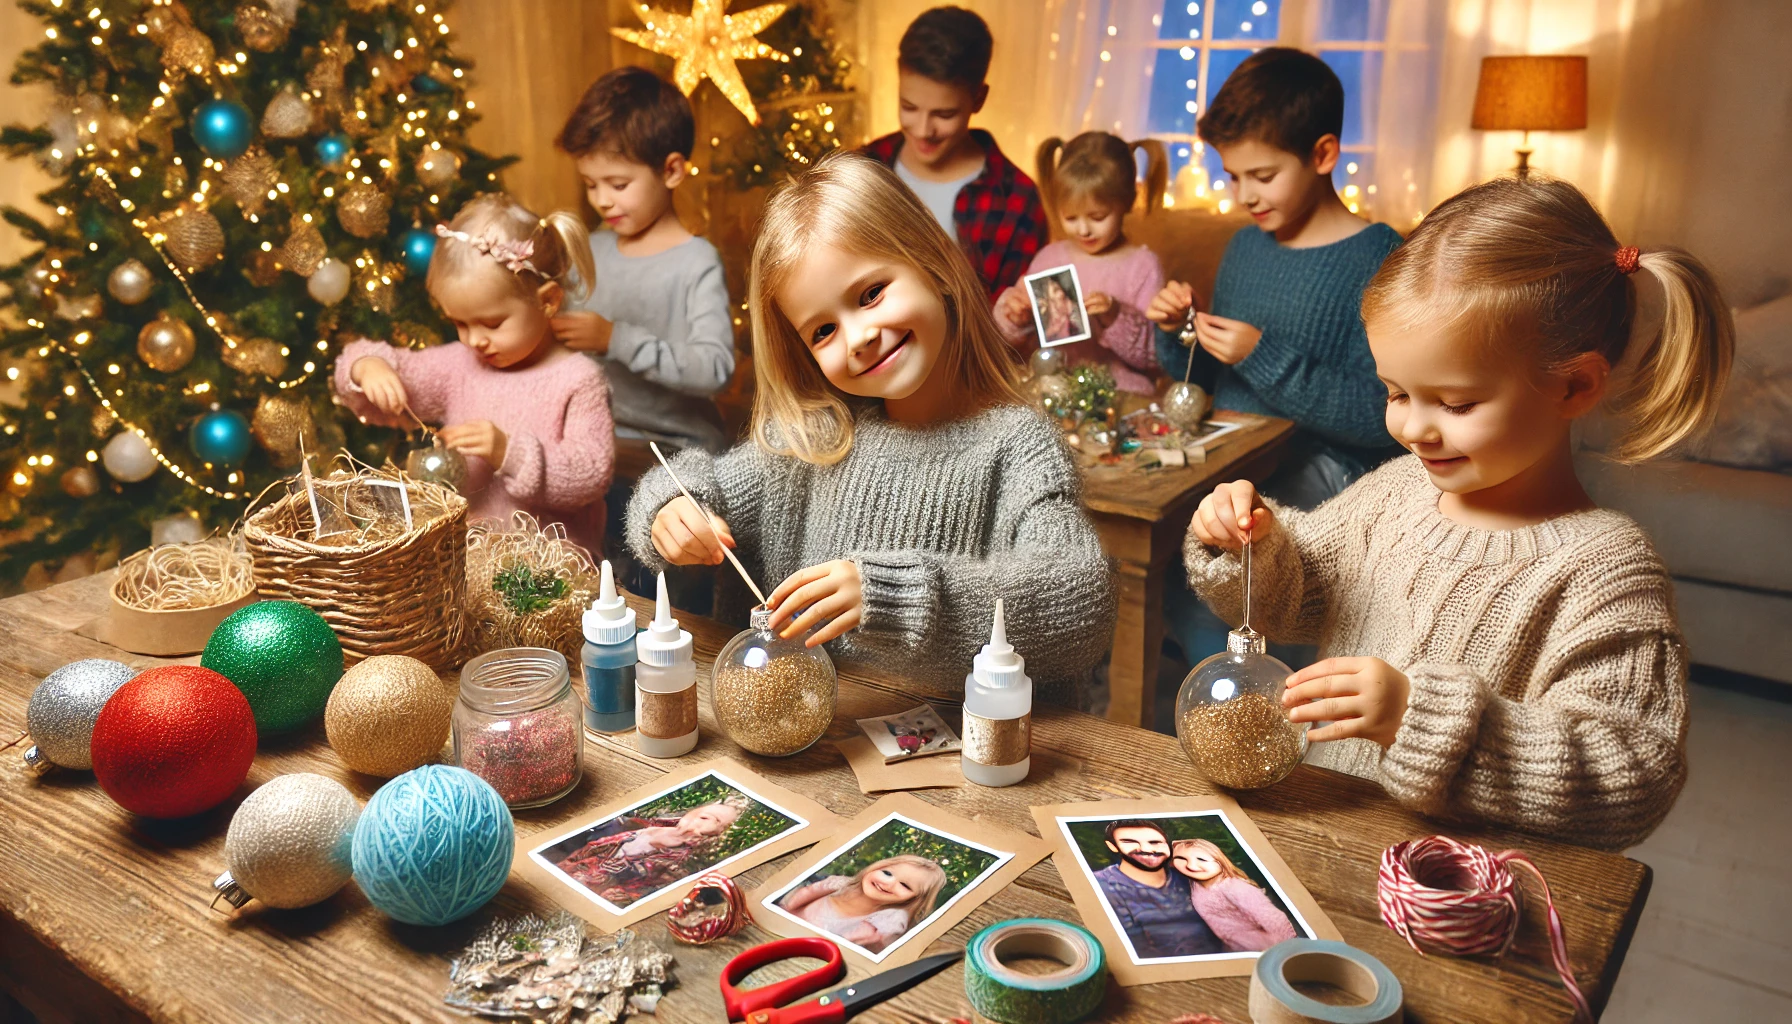
Involving Kids in the Crafting Process
Photo ornament crafting is a fantastic family activity. Kids can:
- Help Choose Photos: Let them pick their favorite memories to include.
- Decorate: They’ll love adding glitter, stickers, and paint.
- Learn About Family History: Share stories behind the photos as you work together.
Note: Supervise young children when using scissors or glue.
How to Use Photo Ornaments as Heartfelt Gifts
Photo ornaments make thoughtful gifts for friends and family. Here’s how:
- For Grandparents: Feature photos of grandkids along with a handwritten note.
- For Friends: Use snapshots from shared experiences or trips.
- For Couples: Create a set of ornaments with photos from significant moments in their relationship.
Wrap each ornament in a gift box with tissue paper for a festive presentation.
FAQ Section
1. What type of photos work best for ornaments? High-resolution images printed on photo paper ensure clarity and durability.
2. Can I use regular glue instead of Mod Podge? While regular glue works, Mod Podge creates a smoother finish and seals better.
3. How can I avoid bubbles when applying photos? Use a credit card or your fingers to smooth out air bubbles before the glue dries.
4. Are there eco-friendly ways to make photo ornaments? Yes! Use recycled paper, natural wood slices, and non-toxic glue to keep your crafting eco-friendly.
5. Can I use printed photos from an inkjet printer? Yes, but be sure to use photo paper and let the ink dry fully before crafting.