How to Make Glitter-Filled Ornaments for a Sparkling Christmas
Nothing says “festive” quite like the shimmer of glitter-filled ornaments on a Christmas tree. These sparkling decorations catch the light beautifully and add a touch of magic to your holiday decor. The best part? They’re incredibly easy to make at home! In this guide, we’ll walk you through creating your own glitter-filled ornaments, complete with tips, tricks, and creative ideas to make your Christmas shine.
For a fun variation, check out our post on How to Make Personalized Photo Ornaments at Home to pair with your glitter ornaments.
Why Glitter-Filled Ornaments Are a Holiday Must-Have
Glitter-filled ornaments are a fantastic way to add sparkle and sophistication to your Christmas tree. Unlike standard ornaments, these dazzling decorations reflect twinkling holiday lights, creating a mesmerizing effect. Plus, making them yourself allows for endless customization, from color schemes to added embellishments.
Benefits of DIY Glitter Ornaments:
- Cost-Effective: You can make several ornaments for a fraction of the cost of store-bought versions.
- Personalized Decor: Customize your ornaments to match your holiday theme or color palette.
- Family Fun: This craft is perfect for involving the whole family, making memories while creating something beautiful.
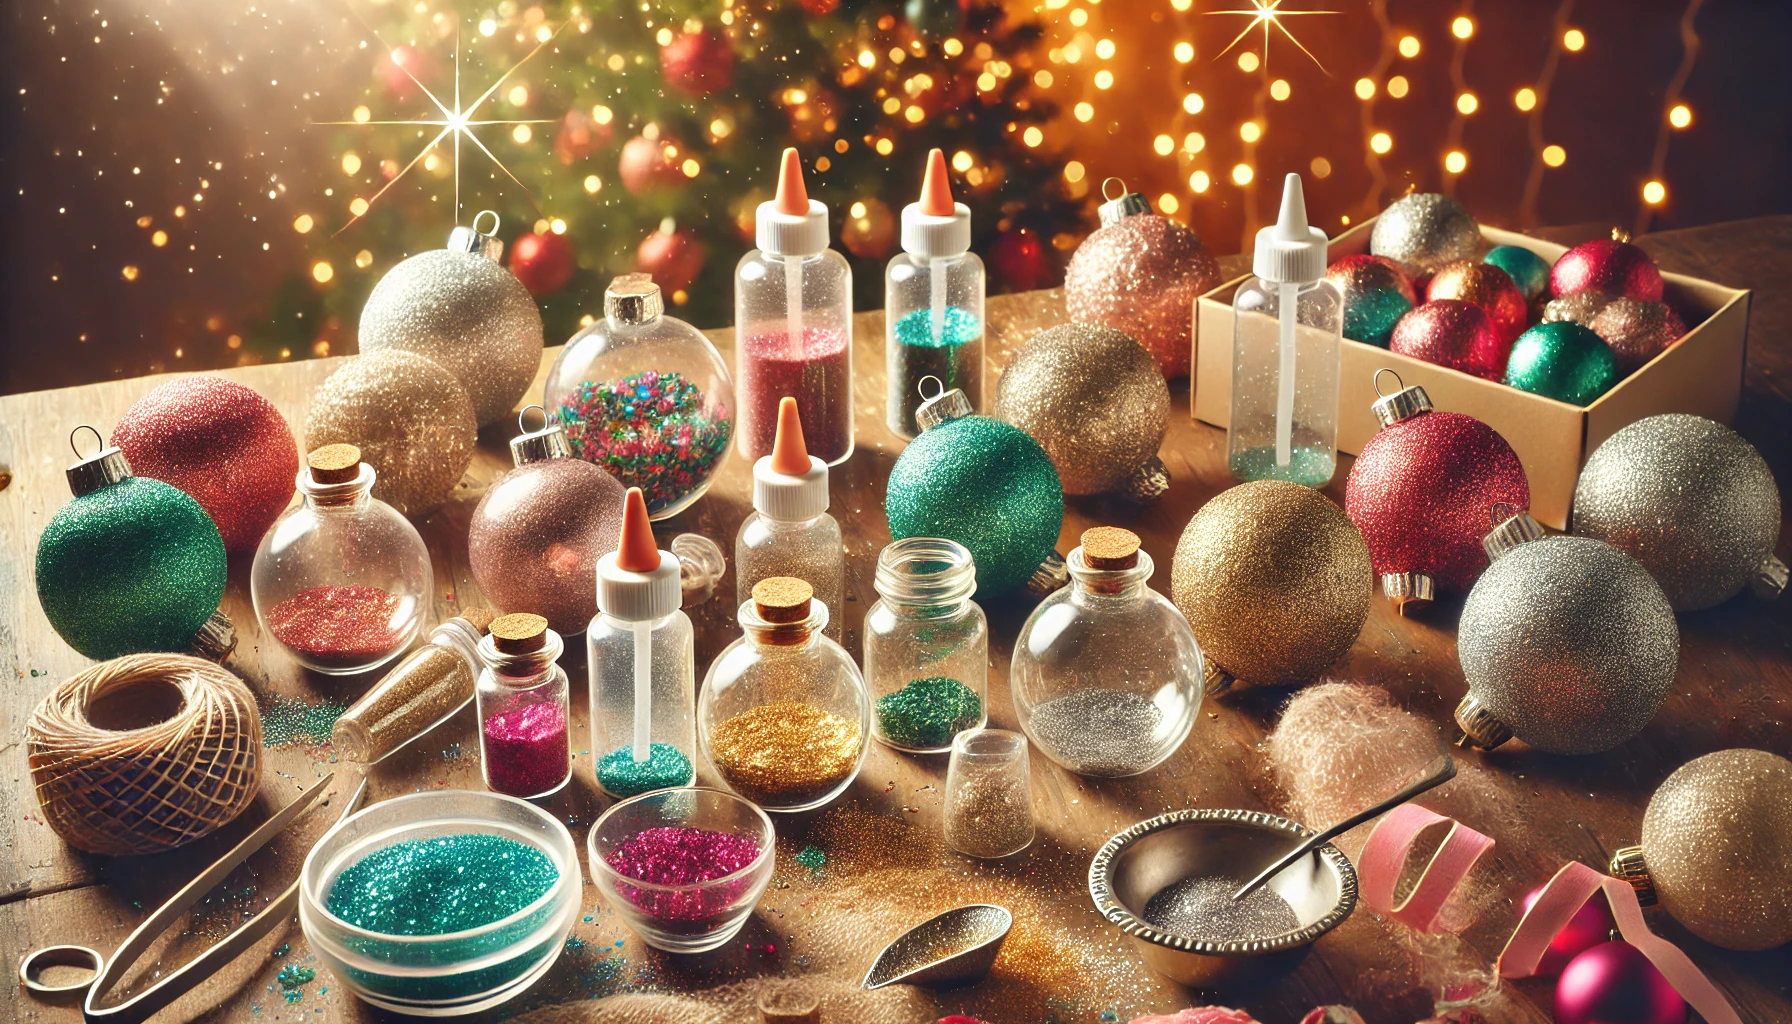
Essential Supplies for Glitter-Filled Ornaments
Gathering the right materials is the first step to successful crafting. Here’s what you’ll need:
- Clear Ornaments: Plastic or glass, depending on your preference.
- Glitter: Fine glitter works best for an even coating; you can use one color or mix several.
- Adhesive: Clear floor polish (like Pledge) or Mod Podge.
- Funnel: To make adding glitter easy and mess-free.
- Ribbon or String: For hanging your ornaments.
- Optional: Vinyl decals, paint pens, or stickers for added customization.
Tip: Make sure to have a workspace covered in newspaper or a craft mat to catch stray glitter!
Choosing the Right Type of Ornament Base
When it comes to choosing your clear ornaments, both plastic and glass have their benefits.
- Plastic Ornaments: Kid-friendly, shatterproof, and perfect for households with pets or small children. However, they may scratch more easily.
- Glass Ornaments: Provide a clearer, more elegant finish and are ideal for adults or older children. Handle with care to avoid breakage.
Step-by-Step Guide to Making Glitter-Filled Ornaments
1. Preparing Your Ornament
Before adding glitter, ensure your ornament is clean and dry. Any dust or residue can prevent the adhesive from sticking properly.
- Remove the Ornament Top: Gently pull off the metal cap and set it aside.
- Clean the Interior: Rinse the inside with warm water and let it dry completely.
2. Adding the Adhesive
A good adhesive is crucial for keeping the glitter in place.
- Using Floor Polish: Pour a small amount of floor polish into the ornament. Swirl it around until the entire interior is coated, then pour out the excess.
- Using Mod Podge: If using Mod Podge, brush a thin, even layer inside the ornament.
Note: Be careful not to create bubbles or drips, as they can affect the glitter’s coverage.
3. Adding the Glitter
Now for the fun part—adding the sparkle!
- Use a Funnel: Place a funnel into the ornament opening and pour in your glitter.
- Swirl and Shake: Gently rotate and shake the ornament to cover the entire interior. Add more glitter if needed to ensure full coverage.
- Pour Out the Excess: Tap the ornament gently to remove any loose glitter.
4. Sealing and Finishing
Once the glitter is in place, it’s time to secure it.
- Let It Dry: Allow the ornament to sit for a few hours, ensuring the adhesive is fully set.
- Replace the Top: Reattach the ornament cap securely.
- Add a Ribbon: Tie a festive ribbon around the top for a polished, holiday-ready look.
Creative Variations of Glitter-Filled Ornaments
Ombre Glitter Ornaments
Create a beautiful gradient effect by layering two or more glitter colors.
- Start with a Darker Shade: Add a small amount of the darkest glitter first.
- Layer Lighter Shades: Gradually add lighter colors, swirling gently to blend.
Multi-Color Glitter Ornaments
For a bold and colorful design, try mixing different glitter shades.
- Layer or Mix: Either layer the colors for a striped effect or mix them for a confetti-like appearance.
- Use Chunky Glitter: Add chunky glitter to the mix for extra texture and sparkle.
Want more personalized ornament ideas? Check out our guide on How to Make Personalized Photo Ornaments at Home.
Tips for Customizing Your Glitter Ornaments
Take your ornaments to the next level with these customization ideas:
- Add Vinyl Decals: Use your Cricut machine to cut names, dates, or holiday messages from vinyl.
- Paint Designs: Use paint pens to draw snowflakes, stars, or other festive patterns.
- Add Snowy Effects: Brush the outside with white paint for a frosted look.
Common Mistakes to Avoid When Making Glitter Ornaments
To ensure your glitter ornaments turn out perfectly, watch out for these pitfalls:
- Using Too Much Adhesive: Excess adhesive can lead to clumping or dripping glitter.
- Not Letting the Glue Dry: Rushing the drying process can cause glitter to shift or peel off.
- Using the Wrong Type of Glitter: Coarse glitter may not adhere as evenly as fine glitter.
How to Display Your Glitter Ornaments
There are countless ways to show off your glittery creations:
- Tree Decor: Hang them front and center on your Christmas tree.
- Garlands: String several ornaments together to create a glittery garland for your mantel.
- Holiday Tablescapes: Use them as festive accents for your holiday table settings.
Glitter-Filled Ornaments as Gifts
These ornaments make wonderful gifts for teachers, friends, and family. Package them in a decorative box with tissue paper and include a handwritten note for a thoughtful, personalized present.
Gift Wrapping Ideas:
- Use Holiday-Themed Boxes: Wrap each ornament in a Christmas-themed gift box.
- Add a Tag: Attach a custom tag with a holiday message or the year.
How to Make Glitter-Filled Ornaments Kid-Friendly
Crafting with kids can be a joyful, albeit messy, experience. Here’s how to keep it fun and safe:
- Use Plastic Ornaments: Shatterproof options are best for little hands.
- Pre-Pour Glitter: Set up small containers of glitter to prevent spills.
- Supervise Closely: Guide younger children through each step to keep things under control.
For more family-friendly holiday crafts, explore our guide on How to Make Personalized Photo Ornaments at Home.
Cleaning Up Glitter: Tips and Tricks
Glitter can be tricky to clean up. Here’s how to manage the mess:
- Use a Lint Roller: It’s perfect for picking up stray glitter.
- Baby Wipes: These work wonders for cleaning surfaces and hands.
- Vacuum with a Hose: Use your vacuum’s hose attachment to suck up loose glitter from the floor.
FAQs
1. What type of glitter works best for ornaments? Fine glitter creates a smoother and more even finish compared to chunky glitter.
2. Can I use plastic ornaments instead of glass? Yes, plastic ornaments are more durable and safer, especially if you’re crafting with kids.
3. How long do glitter-filled ornaments take to dry? Depending on the adhesive, it usually takes 24 hours for the ornaments to fully dry.
4. What’s the best way to prevent glitter from clumping? Ensure an even coating of adhesive and shake out any excess glitter thoroughly.
5. Can I reuse old ornaments for this project? Absolutely! Repurpose old, clear ornaments by giving them a new glittery life.
Conclusion
Glitter-filled ornaments are a fun and festive way to brighten up your Christmas decor. With a few simple materials and a touch of creativity, you can create stunning, personalized ornaments that will make your holiday season sparkle. Start crafting today and enjoy a glitter-filled Christmas!